Knowing how to crop your photos can make a huge difference to your travel photography when trying to convey the story of that moment you have captured. Over the years I’ve learned a few different tricks when cropping my travel photos and I’d love to share them with you! I believe it is always a good idea to play around with your photos once you’ve left the moment, as to take up too much time “getting it just right” is eating away at your adventure time! Plus, once you’ve returned from a trip you can look at your adventures in retrospect with provides all the more opportunity to reminisce!
Please note: this photography series is for absolute beginners like myself, as I am learning as I go along on my travels and can share what I learn with my readers in very simple, non-professional terms!
Basic Cropping
Below is an example of one image, cropped four different ways to kick things off:
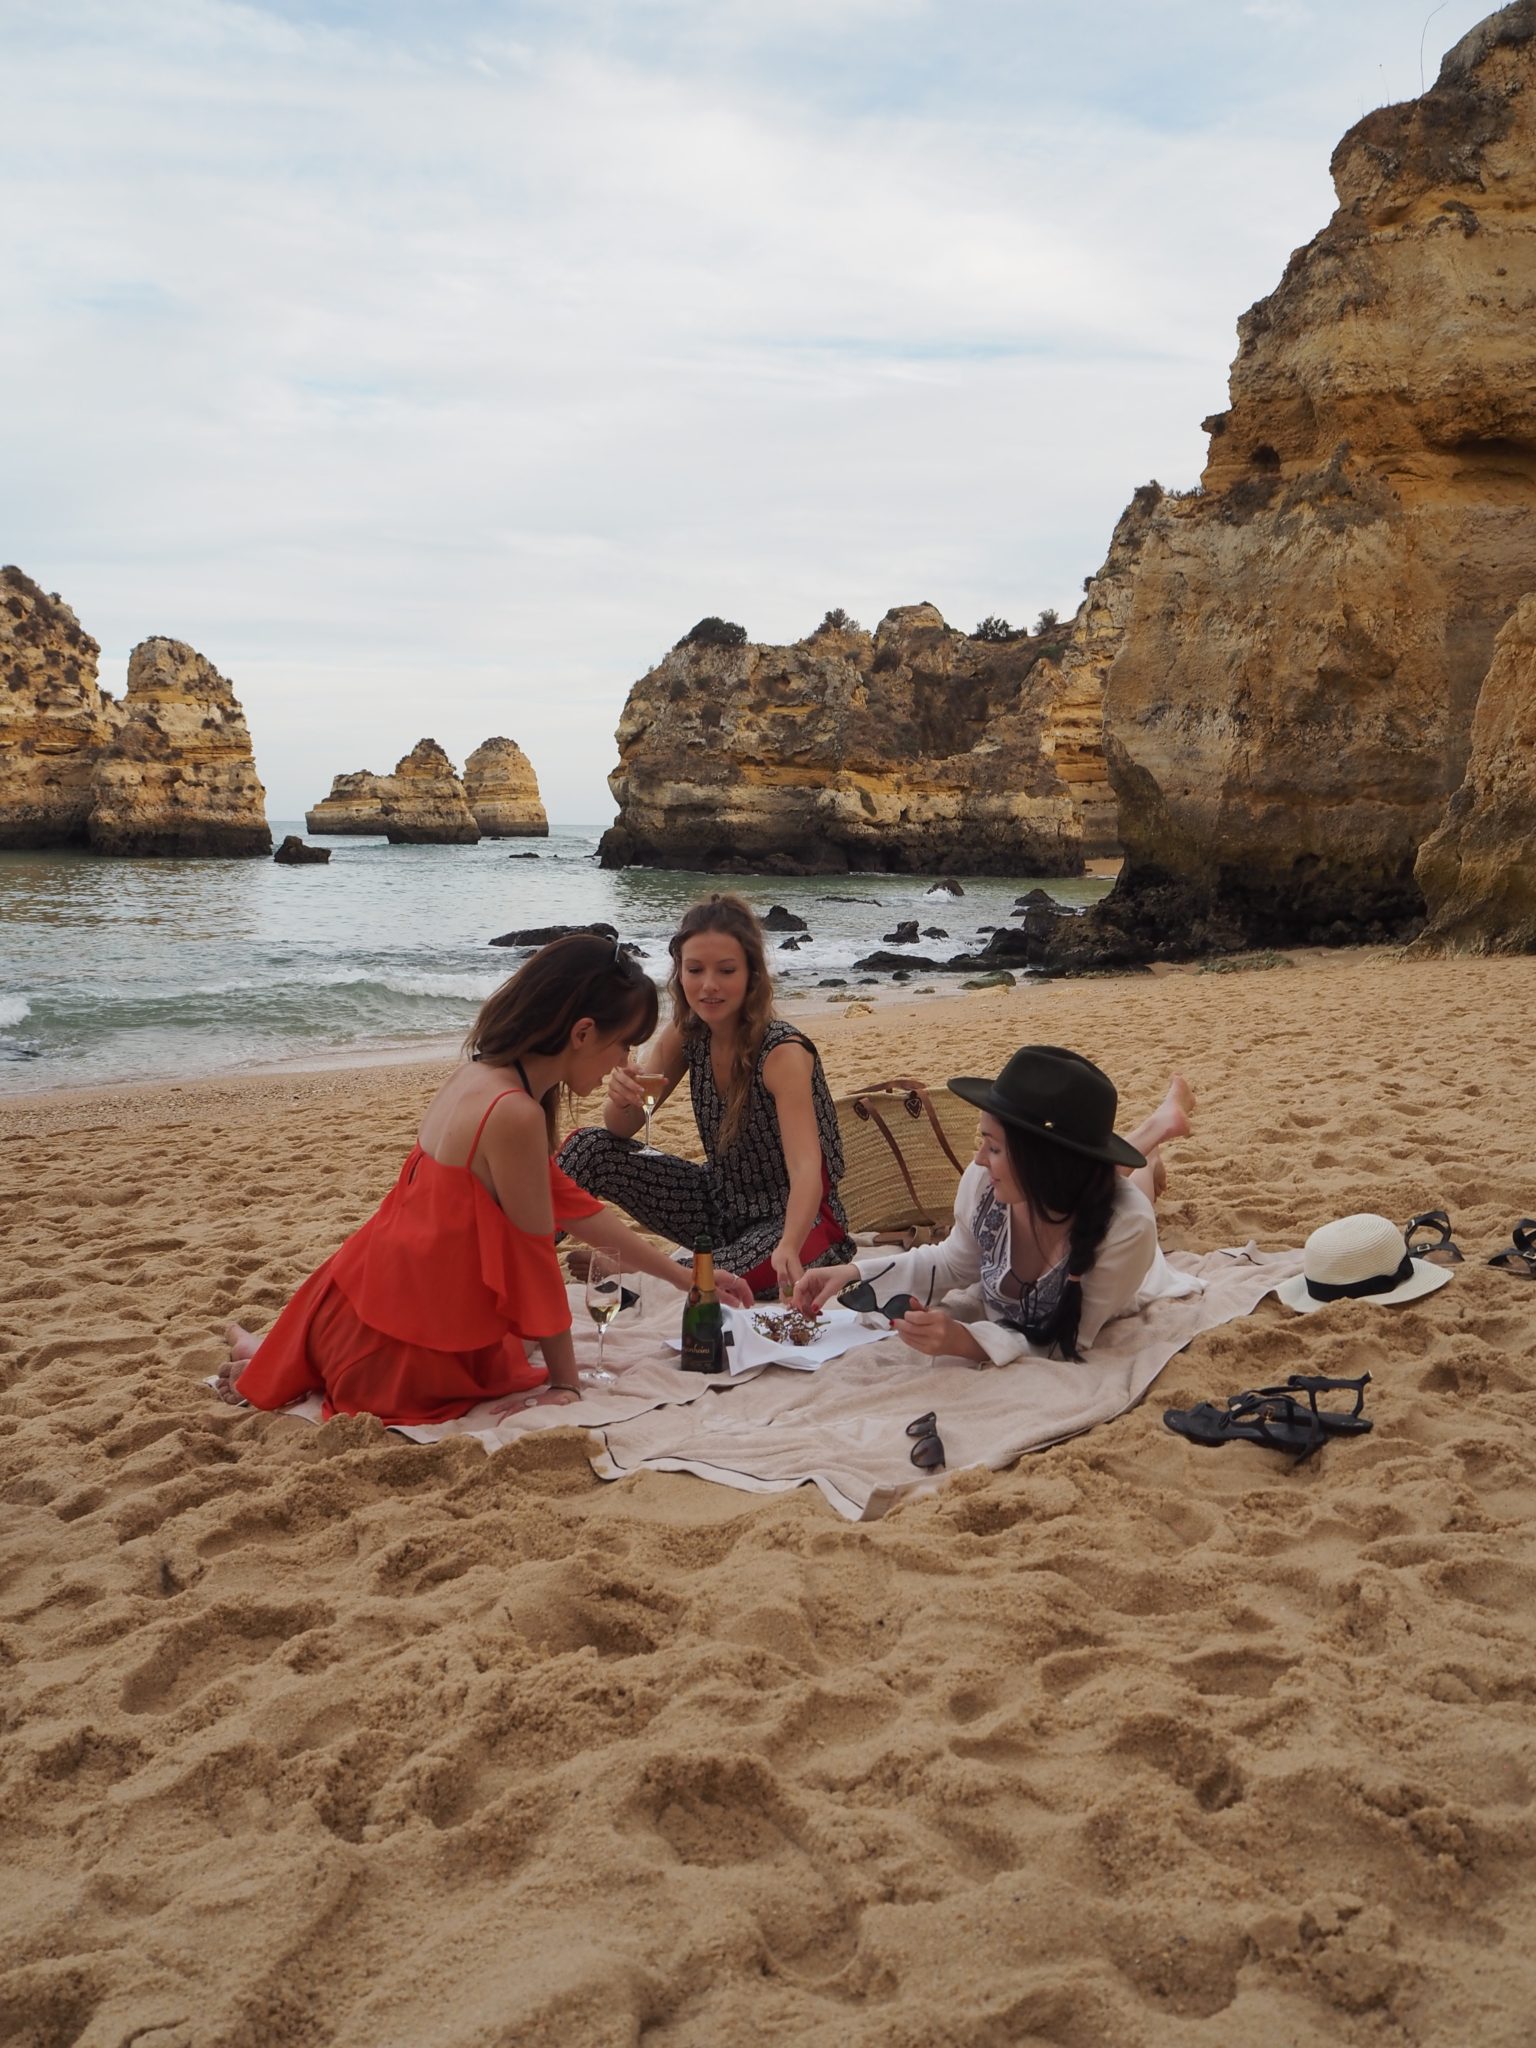
This first image is the original image as it was photographed – with the subjects directly in the centre, sand in the foreground and ocean/sky in the background.
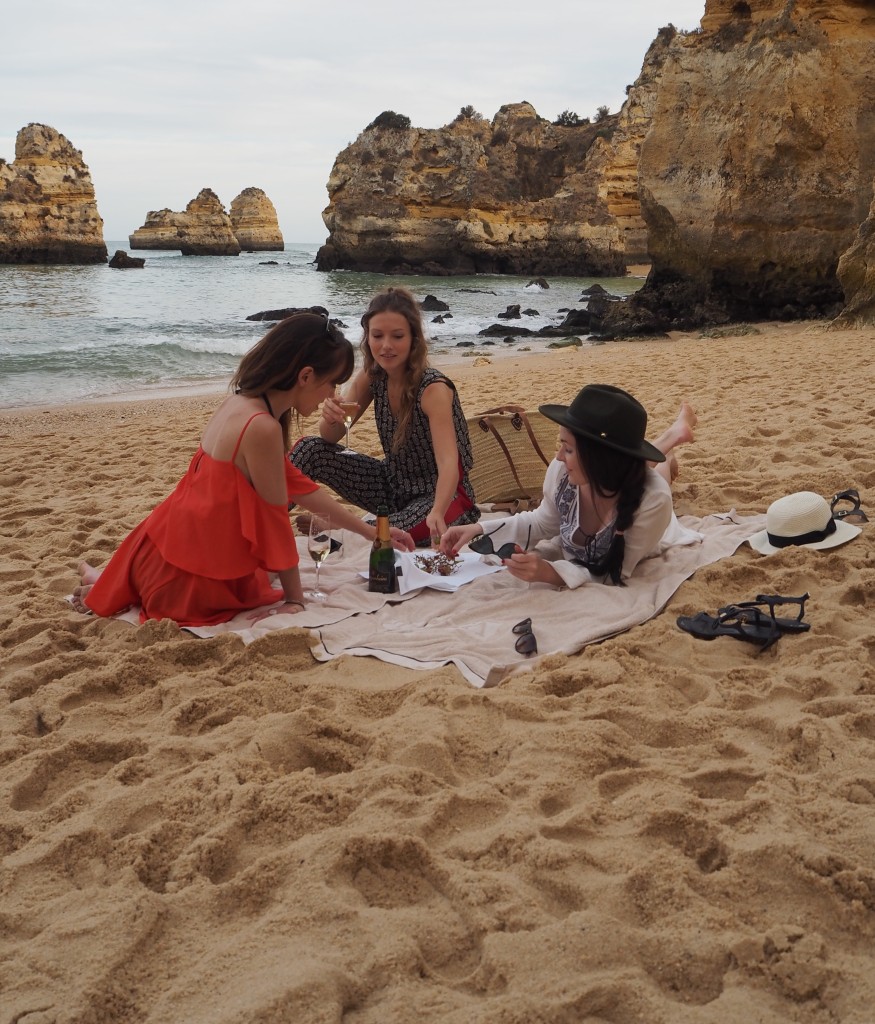
This second image shows one variation of cropping: to focus on more of the foreground. This kind of cropping doesn’t really work for this image as the rest of the photograph is too busy, but this technique can work well under the right circumstances!
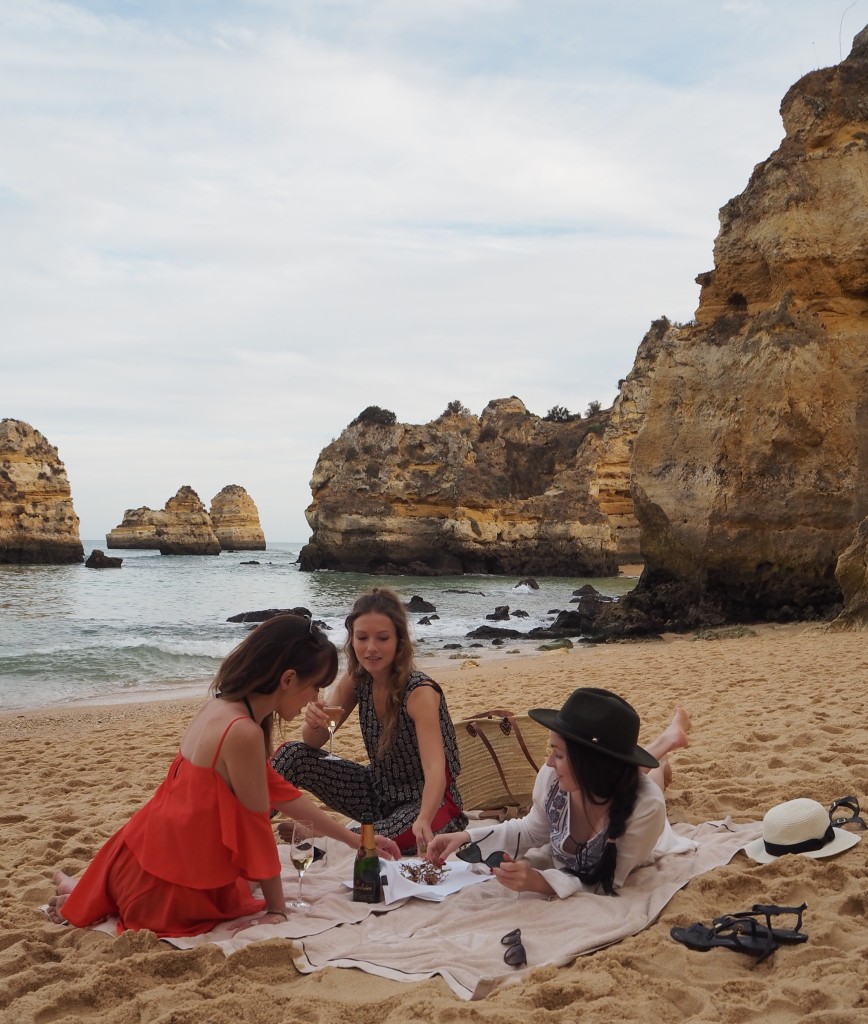
Instead for this image, the preferred crop would be to limit the amount of business in the foreground and use the subjects as the focal point, with as much landscape in the background as possible (everyone loves a blue sky) and those ocean rock formations are too beautiful to ignore. This kind of crop also tells more of a story as it uses the subjects as the initial point of focus, within the setting of a beautiful backdrop.
Example 2: Landscapes
When photographing landscapes, it can often be tempting to try and “fit as much in” to the frame as possible. However as we will see below, a few minor crops can really improve the feel of a photo without reducing too much of the scenery!
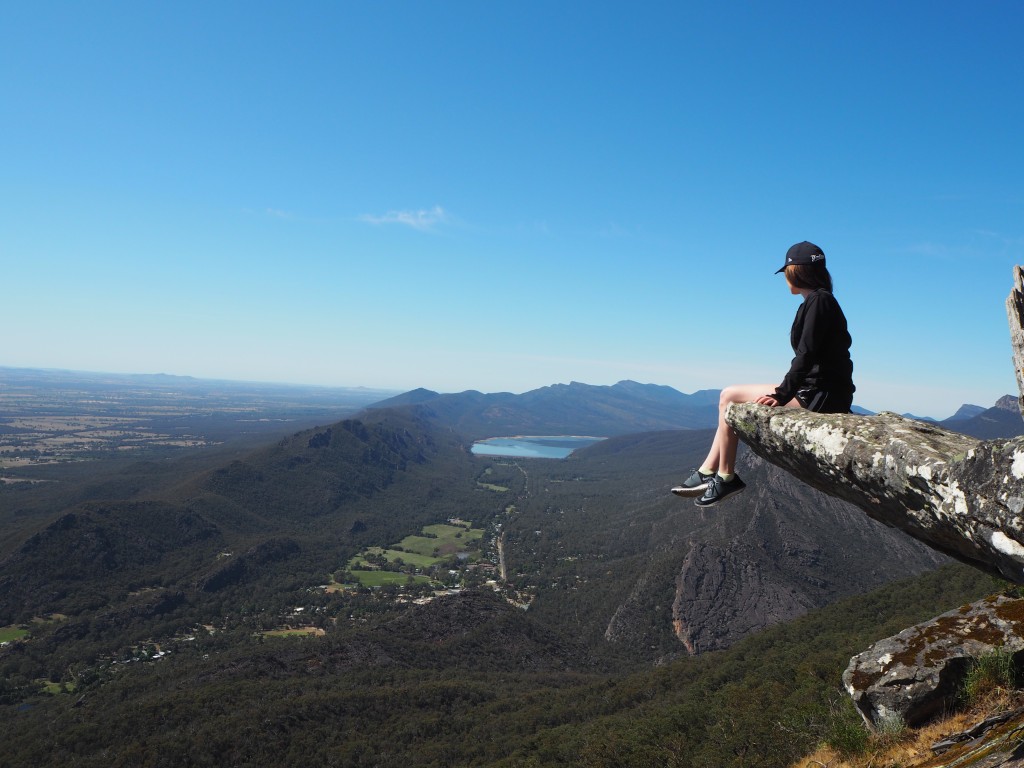
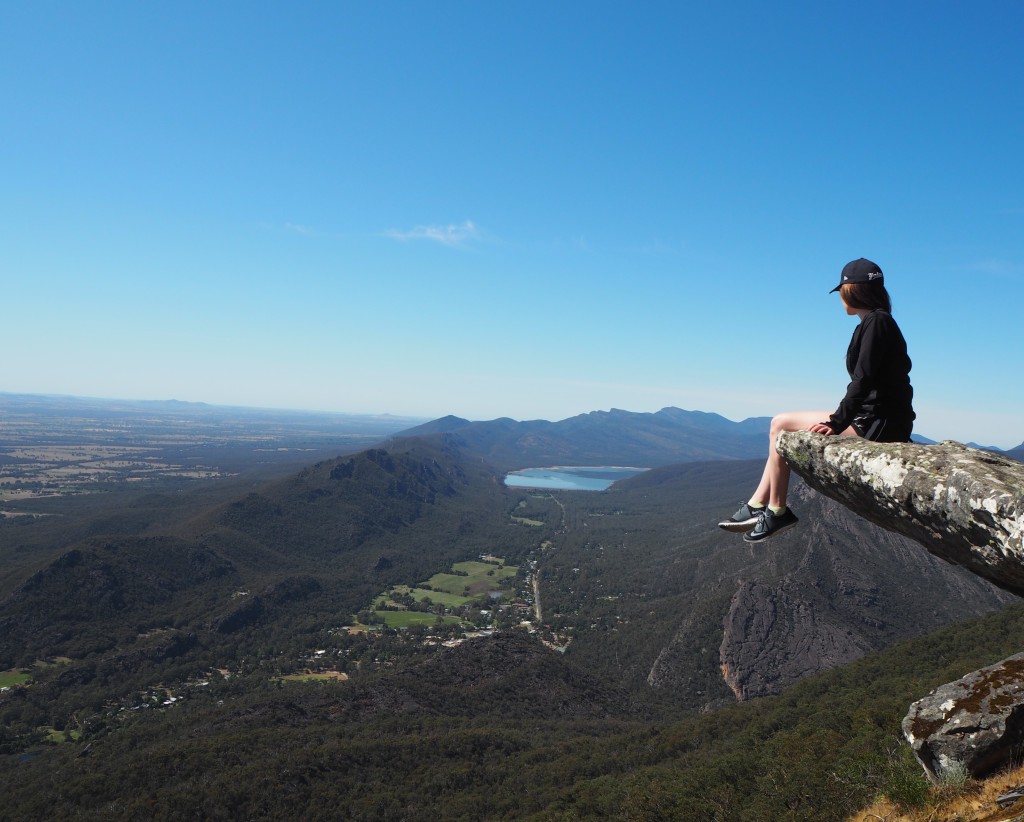
In this first frame (kindly taken by my better half), there is no cropping at all. The easiest way for me to ask someone else to take my photo is just to ask them to put me either in the left, centre or right of the frame, and once I get home I can crop the photo to my liking. If you are a solo traveller you will know this feeling all too well!
My main issue with this first frame is the rock on the right hand side poking into the frame and secondly that the image shows too much foreground and makes the drop much less impressive.
In this first crop I have merely removed the vertical rock on the right hand side of the frame to give a cleaner, crisper look.
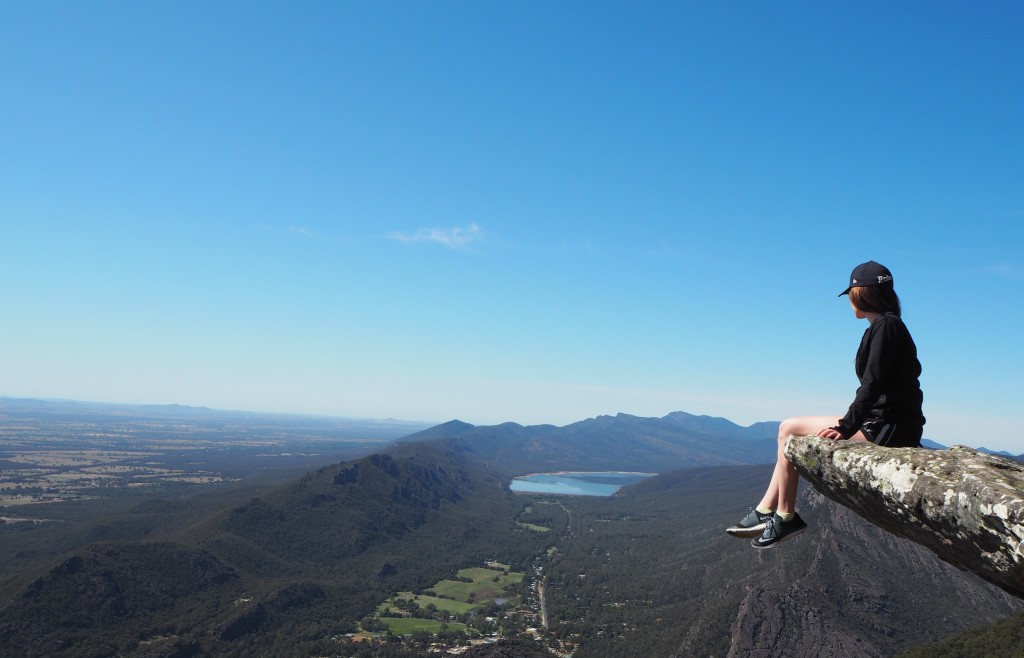
In this second crop I have removed a large portion of the foreground in order to make the peak seem higher and much more impressive than it was with all the forestry underneath. This gives the photo a more adventurous appeal and makes it look limitless!
For more in this series, check out the technology section.
Things to Remember:
It is a good idea to make duplicates of your images before cropping, so you can always revert back to the original.
Cropping works best when working with larger file formats (consider shooting in RAW).
Take your time when cropping and think of the obvious before the trivial: aka no one likes a wonky horizon!
Be sure not to “cramp” the photo so it is filled out with no focal point.
Avoid over-cropping!
Photography FAQ:
What camera do you use?
An Olympus PEN E-PL7 for day to day and OM-D Mark II for more thoughtful shots.
What lenses do you use?
Nearly always I use the 14-42mm on my Olympus PEN and a fisheye on my OMD. I also have a few long range and wide angle lenses that I use for landscape photography, but typically only travel with the first two in order to travel light.
No comments:
Post a Comment